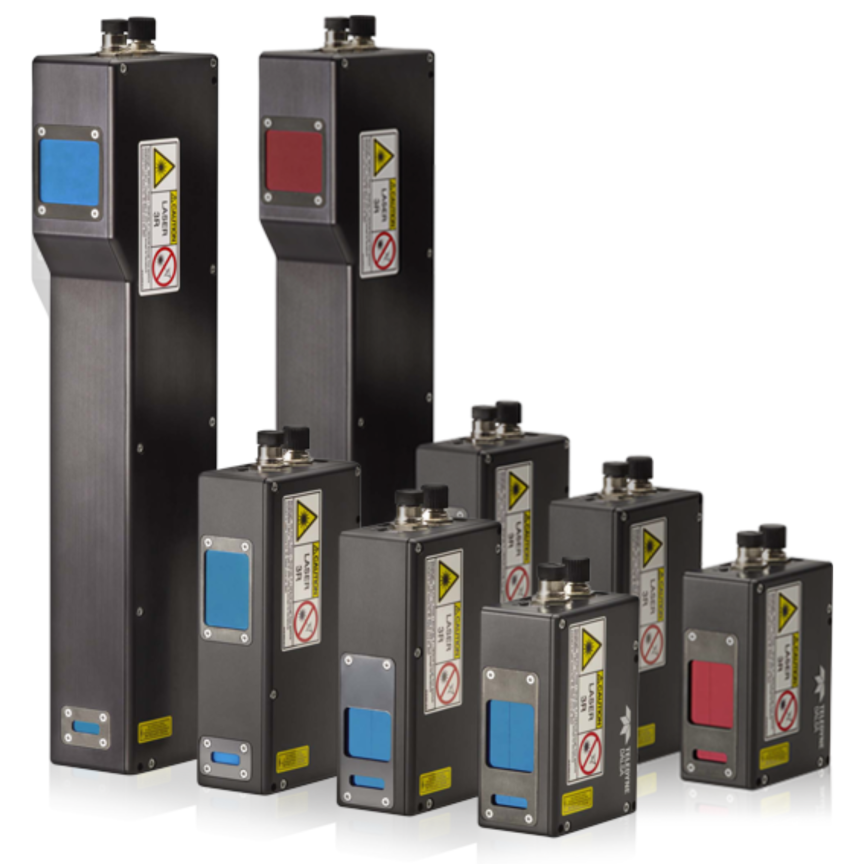
With immediate effect, the German measurement system manufacturer Aimess offers the 3D infrared scanner R3Dscan as automated solution with direct connection to industrial robots. Hence, it is possible to integrate the scanner into production lines in order to inspect dimension, shape, and position of objects in manufacturing cycles.
The R3Dscan was dedicatedly developed for inspecting objects with transparent, black, or reflective surfaces. Such parts can hardly be measured with popular fringe projection systems (e.g. white light scanners) that usually require surface preparation with anti-reflective matting spray and the placement of measurement targets. This time-taking method is not feasible for 100% inspection in mass production.
To avoid a pre-treatment of the measurement object, the R3Dscan resorts to a completely new measuring principle: In contrast to conventional fringe projection systems, Aimess’ 3D scanner does not analyze the reflection, but the energy absorbed by the object to be measured. This energy is converted into heat, which is captured by the system using an infrared detector.
Example: vehicle manufacturing
A practical example from vehicle manufacturing that clarifies the benefits of the R3Dscan: The integration of the headlamps into the front end module is a crucial step within the production process. It is imperative that the headlamps are positioned accurately in the complex assembly unit. However, the position of the mounted headlamps on the supports of the sheet metal part cannot be verified inline in a sufficient way. So far, no optical measurement system has been able to scan the “transparent” headlights on the production line, and to automatically generate the result within seconds. To minimize the error rate nonetheless, tactile measurement devices are often used for acquiring at least a few measurement points.
The application of the R3Dscan fundamentally improves the inspection of the assembled front end module: For the very first time, it is possible to measure the integrated headlamps automatically inline. The robot-mounted system scans the headlamps and examines their positions in the vehicle coordinate system. The result of the measurement is available within 60 seconds.
From metal to lightweight design
The R3Dscan is also suitable for robot-assisted inline inspection of light weight material such as carbon fiber, glass fiber, and fiber reinforced plastics. “In the majority of cases, our customers strive to replace metal parts by lighter materials in order to develop more efficient and future-proof products,” reports Olaf Krüger, Product Manager R3Dscan at Aimess. ”Due to this trend, manufacturers and component suppliers are facing new challenges as current production processes need to undergo a radical change.”
Because of the complexity and the combination of different materials (resin, fibrous material, etc.) and different manufacturing processes, new damage patterns arise, for instance insufficient resin curing, fiber fractures, or delamination. Moreover, quality assurance must include the inspection of 3D geometries.
“With the help of the R3Dscan, it is possible to setup an efficient inspection process with seamless integration into the production process of lightweight parts. Thus, we provide an optimized measurement solution to all manufacturers that intend to establish series production of parts made of lightweight materials,” says Olaf Krüger.
Further information about the R3Dscan will be provided on the Aimess booth at the Control show 2015 (stand 7203 in hall 7).

