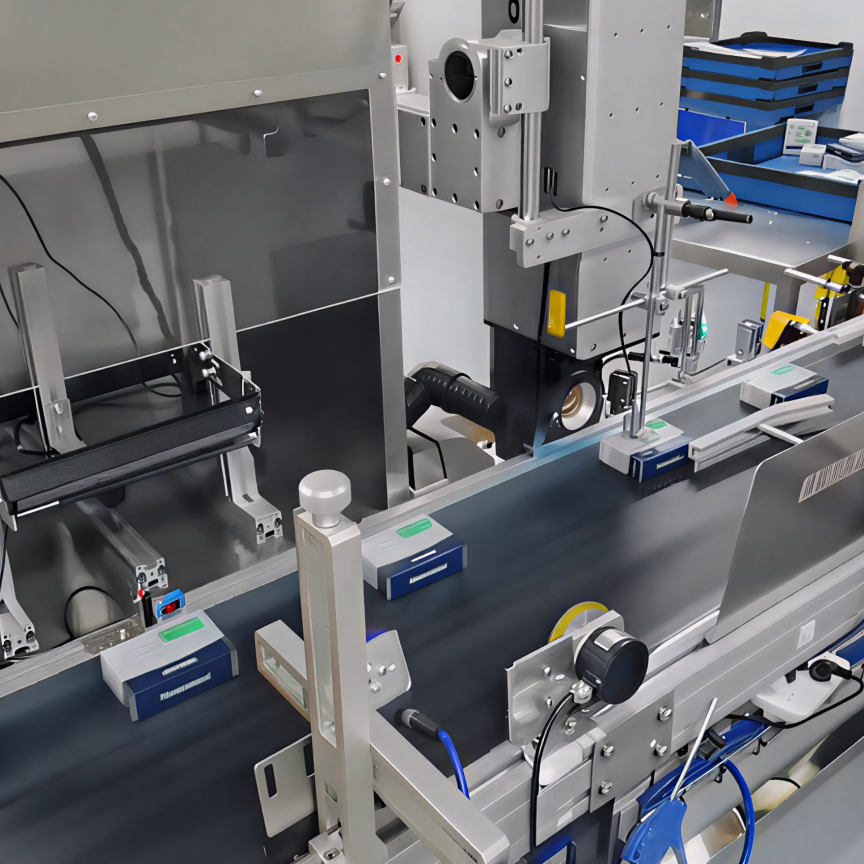
The choices consumers make in the products they buy are reliant on numerous variables. In a competitive marketplace, businesses will invest a lot of time and money in ways of making their product stand out from the rest of the competition. One of the big variables, however, and one which will hopefully keep the customer coming back for more, is quality.
Quality assurance checks are employed in the vast majority of manufacturing procedures, from food to consumer electronics. Machine vision is built for these types of quality inspections and can be used to ensure part tolerances are met, along with any aesthetic criteria the manufacturer might have with regards to the product.
QA forms an important part of labelling, and for foodstuffs this is especially crucial – not just for presenting attractive packaging that the customer is going to want to buy, but also for displaying the correct information about the product, such as allergen warnings.
Tom McLean, general manager at vision system provider Mettler Toledo CI-Vision, comments: ‘A high percentage of product recalls are actually label-oriented, not content-oriented.’ Mike Geren, engineering manager at the company, adds: ‘Some of it is lawsuit based. Mistakes made on labels expose the manufacturer to significant lawsuits, especially when it’s labelling pharmaceuticals or over-the-counter drugs.’
Mettler Toledo CI-Vision installs vision systems for various industries. One of its customers is the Kendall-Jackson winery in California, which uses machine vision at various stages along its production line, including the 360 Full View inspection system designed for labelling checks. As a bottle passes through the label inspection area, four Basler Scout cameras provide a 360° view of the bottle. Image processing is carried out by the Matrox Imaging Library (MIL).
Firstly, every bottle is inspected to ensure the barcode or label ID matches the product. Labels are then inspected to make sure they’re not crooked, wrinkled or flagged (i.e. peeling edges); the front and back labels must be equidistant and top and bottom labels must be lined up. Within the MIL platform, the label is ‘unwrapped’ to convert it to 2D and the software builds a composite image of the bottle. From that, the labels’ relative positions can be verified according to their coordinates.
‘The most important aspect of a vision setup is lighting. If you can light it then you can inspect it,’ says McLean. However, Geren notes there are some defects that you can’t physically light to pull out the contrast, which is where Matrox’s vision library is used, to bring out the contrast and enhance the defects. A black product ID code on a dark label is one example where the software has to hone the image to find the proper contrast. This kind of processing, if carried out on the fly at 800 products per minute, is resource intensive. ‘MIL provides the tools, but we use our experience to determine which algorithms to use where, so that defective products don’t go by our systems,’ says Geren.
‘There’s a lot of quality control that goes in,’ comments McLean. ‘There might also be seasonal wines or specials that have to have the correct label. It’s those labelling checks that really guarantee the quality. In general, wineries will inspect every element of the label to the extent that any flaws shouldn’t be noticeable by the human eye when the bottle is on the shelf.
‘If you’re a manufacturer and you’ve fought to get the right retail shelf space and have a loyal customer and they pick up a mangled label, then they might buy the product on the shelf next to it,’ McLean continues. ‘You’ve then lost your customer and lost brand loyalty. The marketing angle of it from a manufacturer is really important for brand image and they’re stressing it more than ever.’
Automotive part inspection
Moving from food to automotive, quality checks remain a critical aspect for any supplier providing parts for vehicle manufacture. Bead Industries, which produces electronic pins, connectors and interconnects, is one such supplier and plant manager, Kevin Mayer, comments on the importance of thorough QA inspections put in place for its True Grip pin, used in actuator control systems in vehicle air conditioning units: ‘As it’s an automotive application, every part shipped needed to meet the specifications. We couldn’t have any rejections, because any parts out of spec can result in very costly machine downtime.’
The True Grip interconnect pins are manufactured on high-speed presses, tip-to-tail. They are then traverse wound onto a reel with interleave foam between each layer. Around 25,000 to 50,000 pins comprise each reel, with the electronic manufacturer producing the actuator control units requiring around 60 million pins per year.
The inspection process involves measuring the overall length of pins, the contact length, the collar diameter, and the collar thickness. There are three vision systems currently running on the production line, which use Dalsa’s VA61 vision controller interfaces, Genie cameras and Sherlock software.
‘We believe that each pin is manufactured correctly, but we couldn’t guarantee that before installing Dalsa’s vision system,’ says Mayer. ‘We have a lot of confidence in our process and we haven’t had many problems, but due to the features of this pin and the customer’s requirements it was a necessary step we needed to take. There are 50,000 parts on a reel, around a million parts per shipment; if the customer receives one bad part they can reject the entire shipment,’ Mayer continues. ‘That was a risk we weren’t willing to take. We didn’t want that liability, so we decided to install a 100 per cent inspection.’
The presses produce up to 350 parts per minute, so the requirement was for a high-speed vision system. Also, these pins are manufactured tip-to-tail; they are not individual pins, so that limited the inspection method to machine vision.

Injection moulded engine manifolds are checked to ensure bolt holes are positioned correctly. Automotive suppliers need to guarantee 100 per cent quality of the parts produced. Image courtesy of Industrial Vision Systems
The other advantage of the vision system is that production trends can be analysed. Bead is able to predict tool life and proactively schedule tool changes and other preventive maintenance, which is an important part of quality assurance – i.e. not only making sure defects are detected, but also to improve the process so that the defects don’t occur in the first place.
Earl Yardley, director of Industrial Vision Systems (IVS), a UK subsidiary of German software company NeuroCheck and which has installed vision systems for a number of automotive applications, comments on the reasoning behind installing machine vision: ‘A lot of the time, vision systems are goalkeepers. Manufacturers put them there to stop faulty products reaching the customer, but then fundamentally they go back and look at the process to try and improve it. I suppose their ultimate goal is not to have the vision system at all, but that their product is of the right quality anyway.’
IVS has developed a vision solution for Mahle Filter Systems to determine whether the plastic engine manifolds Mahle produces, and more specifically the bolt holes used to mount the manifold to the engine and the blow-by pipe that makes up part of the manifold, are within spec. The solution involved illuminating the part with high-intensity LED lighting. The width of the blow-by pipe, which is designed to vent gasses while the engine is running, is first measured to ensure the accuracy of the flow-moulding process. This is followed by measurements of the bolt holes, whereby three FireWire cameras each image three holes so that the distances between the holes can be calculated.
As images are captured, a calibration routine programmed in the NeuroCheck software determines the real-world values that make up each pixel. Each manifold is presented to the vision system as it emerges from the flow moulding machine. ‘The main issue with this application is that the part is inspected when hot; a warm part will have different tolerances to the cool part,’ notes Yardley. The parts are inspected at hourly intervals and, because the amount of shrinkage is known, the system applies calibration coefficients to account for it. This allows the system to alert the operator to any problems in the injection moulding process.
100 per cent inspection
The reasons for implementing 100 per cent inspection for the automotive sector is to ensure the quality of the parts supplied. ‘Automotive manufacturers are requiring tighter tolerances and their quality standards have increased,’ states Mayer of Bead Industries. ‘They can’t afford to have costly production downtimes and rejections; this is why Bead decided to implement vision and we haven’t shipped any parts out of spec to date.’
In terms of the food sector, vision is used to ensure a quality item reaches the supermarket shelves, whether that’s through ensuring labels are correctly applied or that the packaging is of a high standard. For example, yogurt or other products that spoil have to be tightly sealed within a container. Vision is used to detect defects such as gouges in the induction sealing surface, which could cause leakage or air contamination.
‘It boils down to the product image and the product brand,’ says McLean at Mettler Toledo CI-Vision. ‘The manufacturers have spent a lot of money on the brand and building a quality image of the product. A product recall can be catastrophic, not only for the cost of the faulty goods, but also for the damage to the brand image. No one wants to buy a product that’s half full or leaking. For all those reasons it’s critical that manufacturers employ machine vision. In addition, there is the liability side of product inspection – damaged or incorrect labels can be very expensive errors.’


